
This is the perfect post to mark my attempt to resurrect this blog. According to Wikipedia, the "egg is a pagan symbol of the rebirth of the Earth in celebrations of spring and was adopted by early Christians as a symbol of the resurrection of Jesus." Whatever your reason might be to start boiling up some eggs (Easter, Passover, some curried egg salad), why not make them a bit festive (apparently we really like a little color in our food). Yes, you could go the easy route and just dump fake dye in a cup with some vinegar and hot water. But why not get a little mad scientist and play around with some natural dye options? You probably have a few things in your refrigerator or cupboard right now that would work! And just look at those gorgeous colors--so much prettier than Red Dye No. 3 (which always reminds me of this song).
You'll need:
Hard Boiled Eggs
Vinegar
Alum Powder (optional)
Oil (optional)
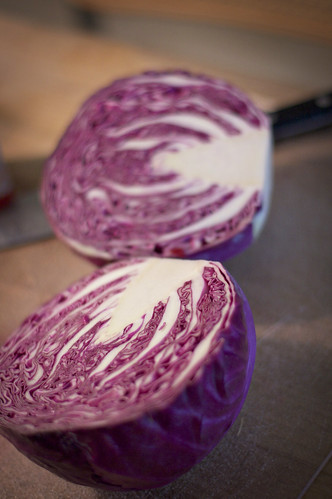
Natural dye matter (red cabbage, blueberries, turmeric, spinach, beets and onion skins are popular options)
First, the eggs. I used both white and brown which produced slightly different results based on the dye! You probably know how to hard boil an egg, but here are some directions anyway. To ensure that your eggs are easy to peel, you could use older (but not out of date) eggs or steam them!
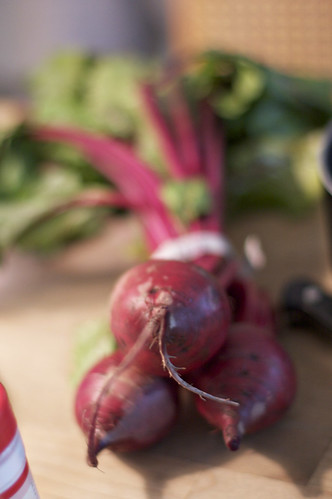
 Now it's time to scour your cupboards and the produce section for some natural dyes! For my eggs, I used raspberry zinger tea, turmeric, beets, blueberries, red cabbage and red onion skins (I just raided the onion bin at the grocery store for extra skins). You could also try spinach, grape juice, pomegranate juice, cranberries, red wine, etc. Basically, if you've ever stained your clothes with something it will probably work as a natural dye.
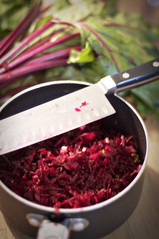
To prepare the dye, chop (e.g. cabbage) or shred (e.g. beets) any of the larger produce. Fill a pot with enough water to cover the eggs you plan to dye and add your dye matter, plus a tablespoon of vinegar. Boil for 15-20 minutes or until you've achieved a deep, rich color. Strain and let your dye cool to room temperature.
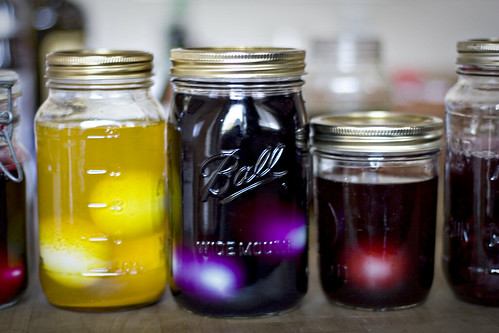
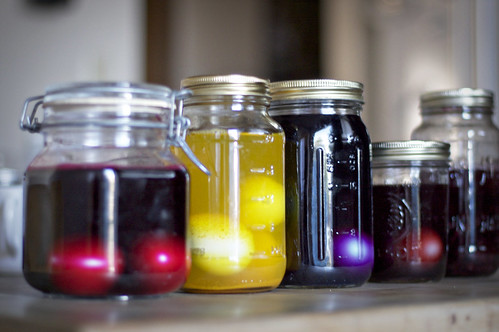 |
| Dyes, left to right: beet dye, turmeric dye, red cabbage dye, raspberry zinger tea dye, blueberry dye. |
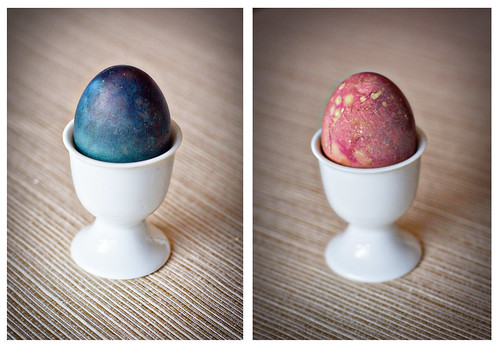
Find some sealable containers, add your hard boiled eggs and fill with your dye. At this point I also added 1/2 tsp of alum powder which is supposed to make the colors a bit brighter. I think it ended up producing a mottled effect on some of the eggs (which I sort of liked). I probably should have added it when the dye was still warm and stirred it in a bit more thoroughly! I also experimented a bit by combining two different dyes (blueberry dye + turmeric dye = lavender eggs). Now stick your containers in the fridge and let them sit overnight.
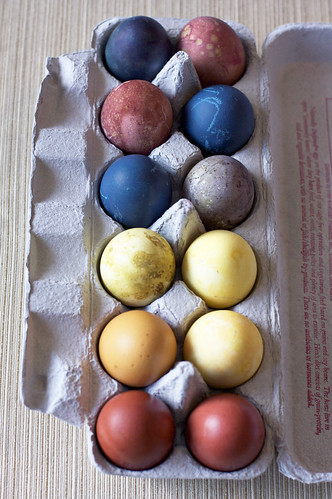 |
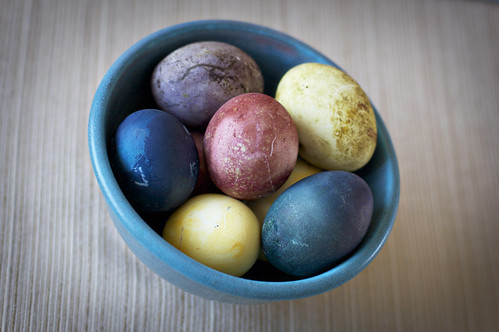
| Clockwise from top right: beets (white egg), red cabbage, blueberries+turmeric, turmeric (white egg), turmeric (brown egg), beets (brown egg), beets (brown egg), turmeric (brown egg), red onion skins, red cabbage, beets (white egg), blueberries. |
If the colors aren't quite where you would like them you can let them sit a bit longer. Otherwise, pull them out and let the eggs dry in an egg carton or on paper towels. Once the eggs are dry you can drizzle some oil onto a paper towel and buff the eggs to give them a bit of gloss.
And now you have naturally dyed eggs! Marvel at their beauty...and then destroy them to make some yummy deviled eggs or ridiculously good egg salad.
No comments:
Post a Comment